Save 40% On Hop Rhizomes / Hop Plants During the More Beer Hop Rhizome Sale

HOP RHIZOME SALE - SAVE 40%

HOP RHIZOME SALE – SAVE 40% #HOMEBREW #HOMEBREWING #HOMEBREWER

Limited time and quantity More Beer Promo Code
More Beer Coupon Codes for February, 2018
Coupon Code Date: 2-18-2018 to Unknown
Promo Code Details: HOP RHIZOME SALE – SAVE 40%
More Beer Promo Code: HOP RHIZOME SALE
Product User Rating: 5/5
Availability: In Stock
MoreBeer.com Coupon Code Description: More Beer’s hop rhizome sale is under way and right now you can save 40% on a huge variety of hop rhizomes!  So you want to grow your own hops?  Well in order to do so, you do not purchase hop seeds, or go to Home Depot and purchase a hop plant, instead, during this time of year hop rhizomes become available and your purchase the variety that you would like to grow!
So what is a hop rhizome? A hope rhizome is a subterranean stem of a hop plant that sends out roots and shoots from its nodes. Hop rhizomes are also sometimes called creeping root stalks because the roots of the hop plant spread out underground as the plant matures and allows the plant to spread out and multiply. Hop rhizomes develop from buds and grow perpendicular.

During this time of year, large  hop cultivators  will segment the rhizomes and sell them to home brewing supply shops like More Beer, so that home brewers like you and I can grow them ourselves!  Since these are only available for a limited time and certain prized hop varieties typically sell out fast, you should probably act now!

SAVE 40% ON HOP RHIZOMES

#coupon #code #homebrew #homebrewing #homebrewer #beer #brewing #home #brewing #brewer #deal #more #beer #morebeer.com #promo #promocode #rhizomes #hops #plants #seeds

Transferring the cider to the keg

The cider wrapped up its fermentation, so I transferred the cider from the stainless steel conical fermenter over to a 5 gallon keg.  I also moved the oak cubes to the keg to let them age and condition with the cider.  It can take months for the oak to impart any significant flavors upon the cider, so as the cider ages the flavor should become more complex.  As of right now the cider is extremely hazy as you can see from the photos.  Hopefully after a week or so in the kegerator at low temperature, the yeast will fall out and the cider will become clear!

Home Cider Making

Home Cider Making

After transferring to the keg, I connected the CO2 line, purged any oxygen that I could from the keg and connected the out line to the new tap that I created. If all goes well I will have some delicious cider to enjoy here in about 1-2 weeks. I am already contemplating ways to make it better. For my next batch, I want to eliminate the dextrose in exchange for a purely apple base, try to round out the body, add in some Oregon sour cherries and do a little research on the best way to back sweeten a cider.  If all goes well, I can eliminate the need for a kit all together!  I will keep you posted on my progress on making hard apple cider at home!

Step By Step Guide to Making Hard Cider At Home

How to make hard cider at home #cider #brew #brewing #hard #howto

How to make hard cider at home #cider #brew #brewing #hard #howto

In the past I have probably brewed more than 50 batches of home made beer but was in the mood to try something a little different. Since fall is upon us, I figured I would try brewing up a batch of hard apple cider! Based on my research, there are a few ways of making cider, but since this is my first time doing so, I figured I would keep it simple and use a kit. Cider ingredient kits are great because they have almost everything needed to get started for your first batch of cider! Please be aware that most of them require you to supply dextrose / corn sugar. I also decided to add some oak to add a little complexity to my cider; it is not required to make good cider but I enjoy it.  Here is a list of the items that I purchased, you can click the links if you need to purchase any of the items:

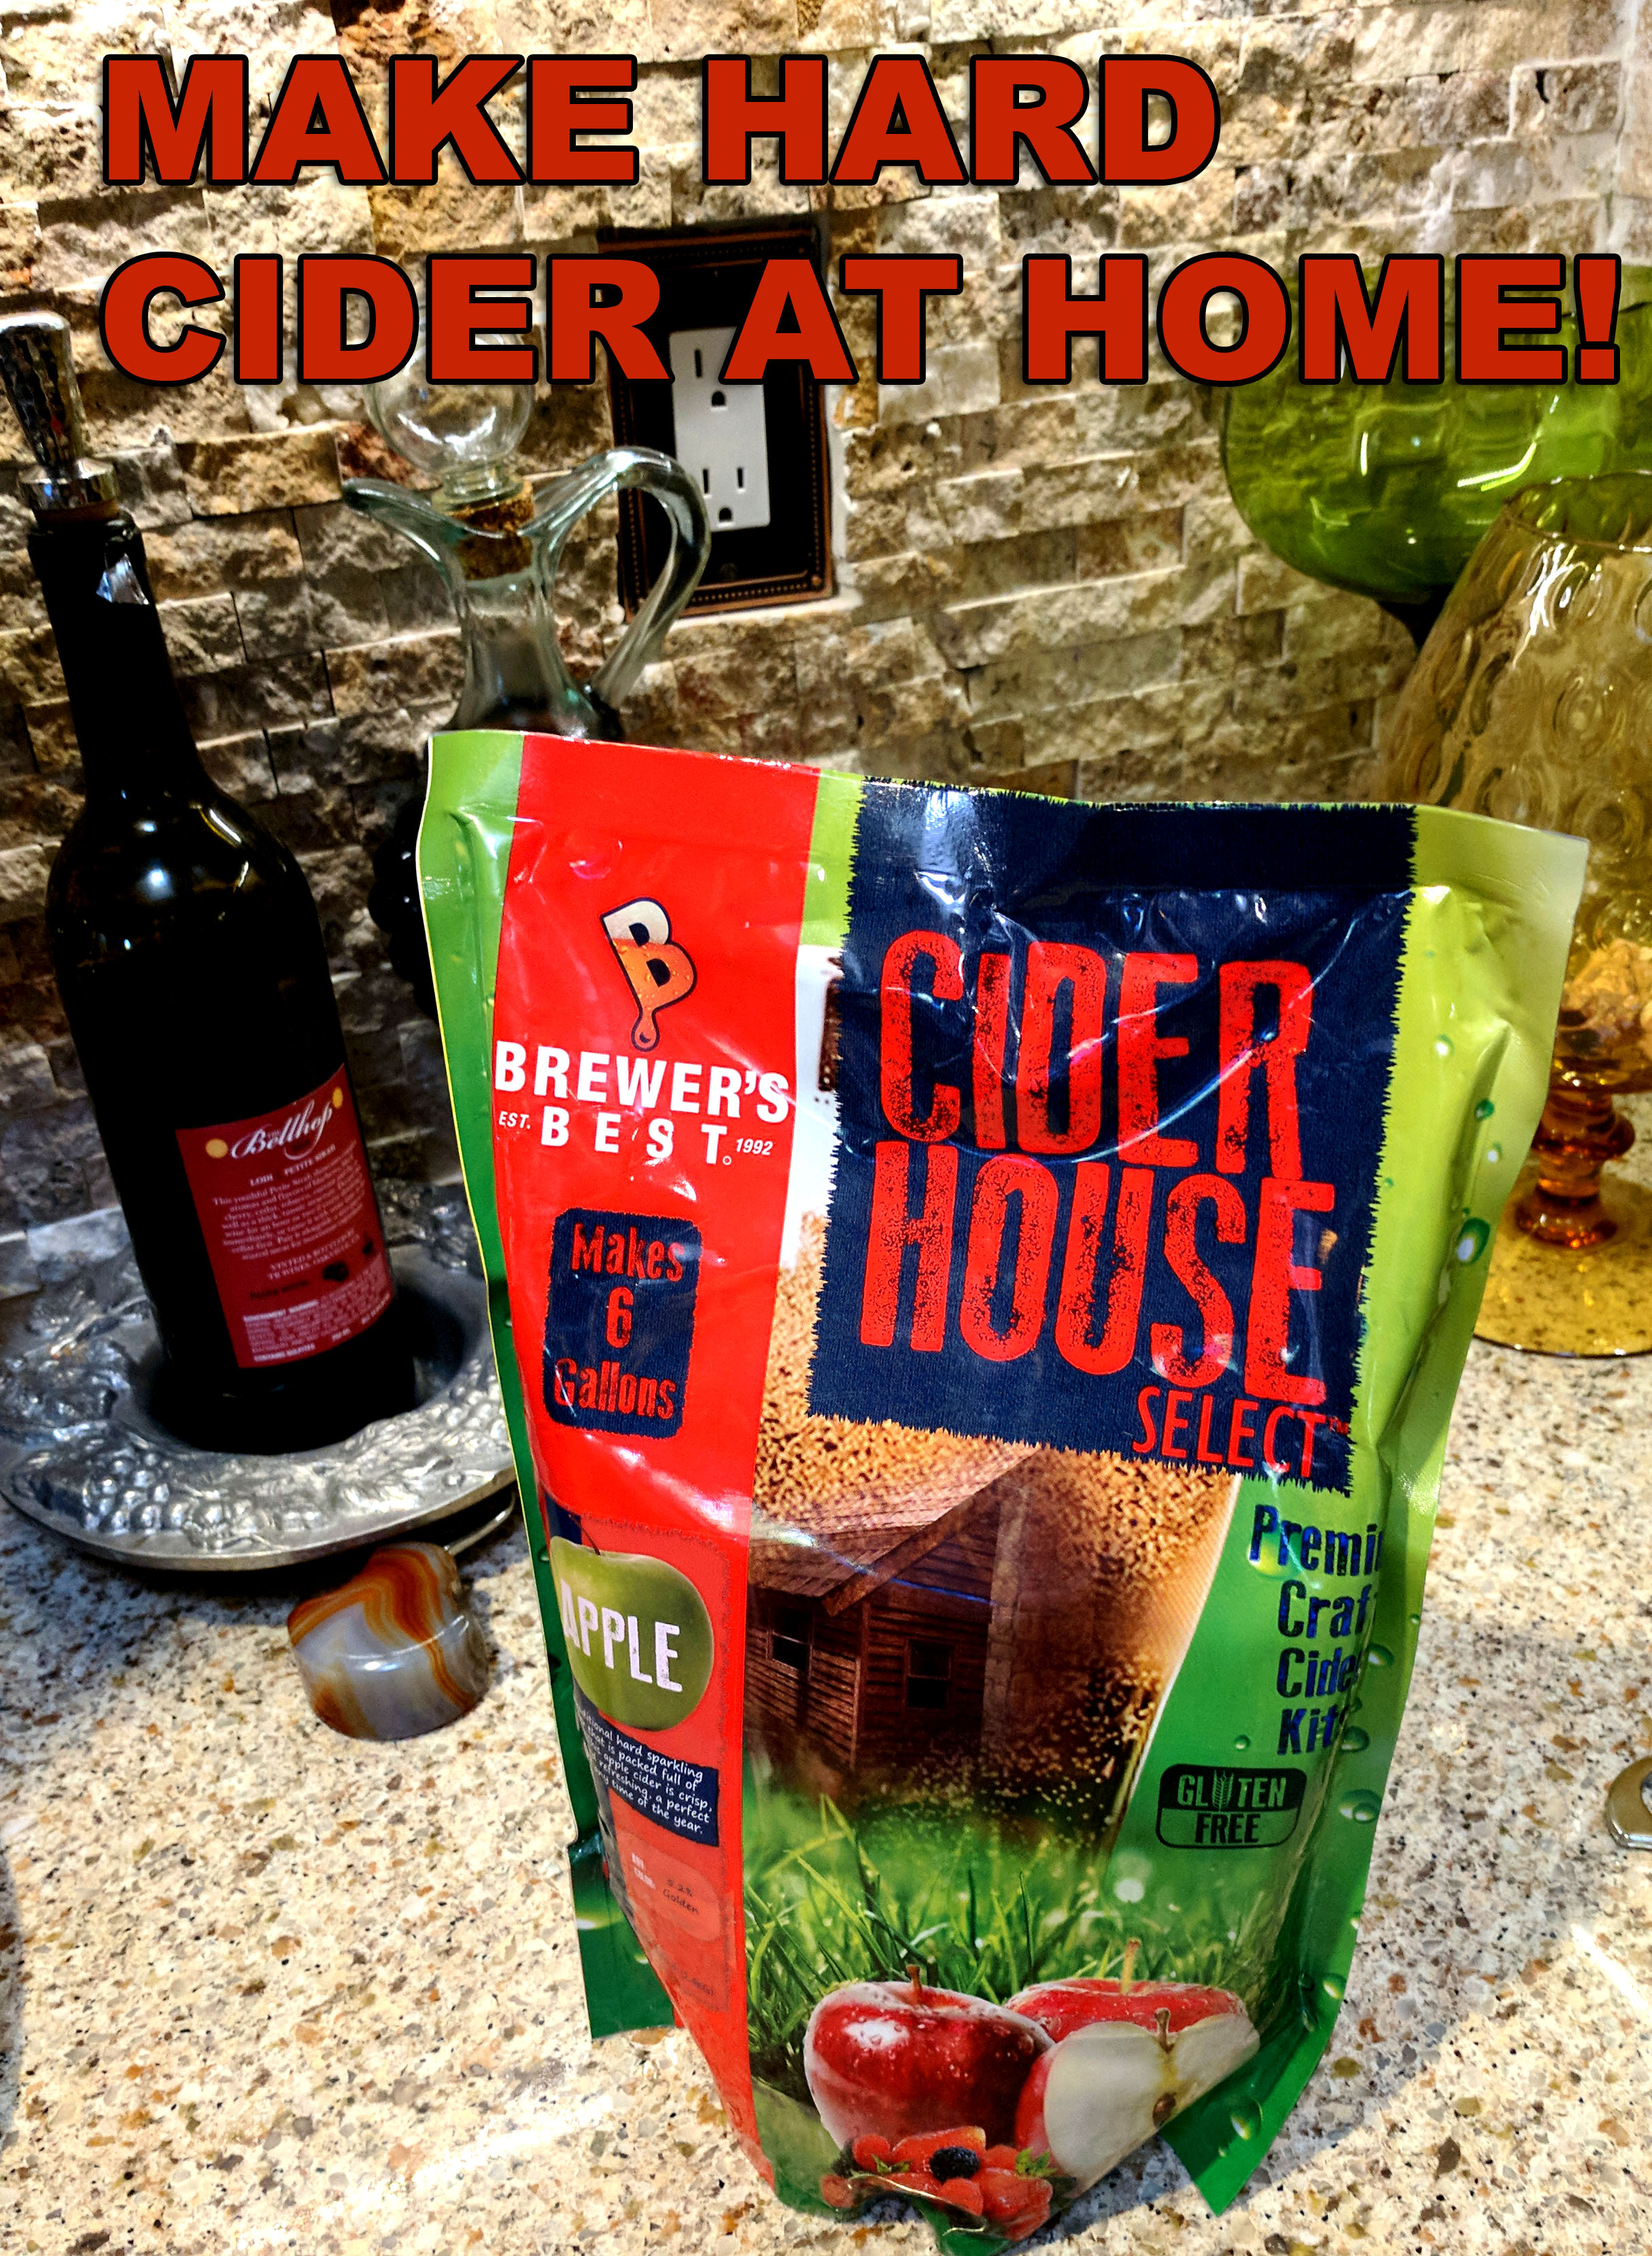
1) Cider House 6 Gallon Home Cider Kit
(There are a variety of kits available, this was one I found at a good price)
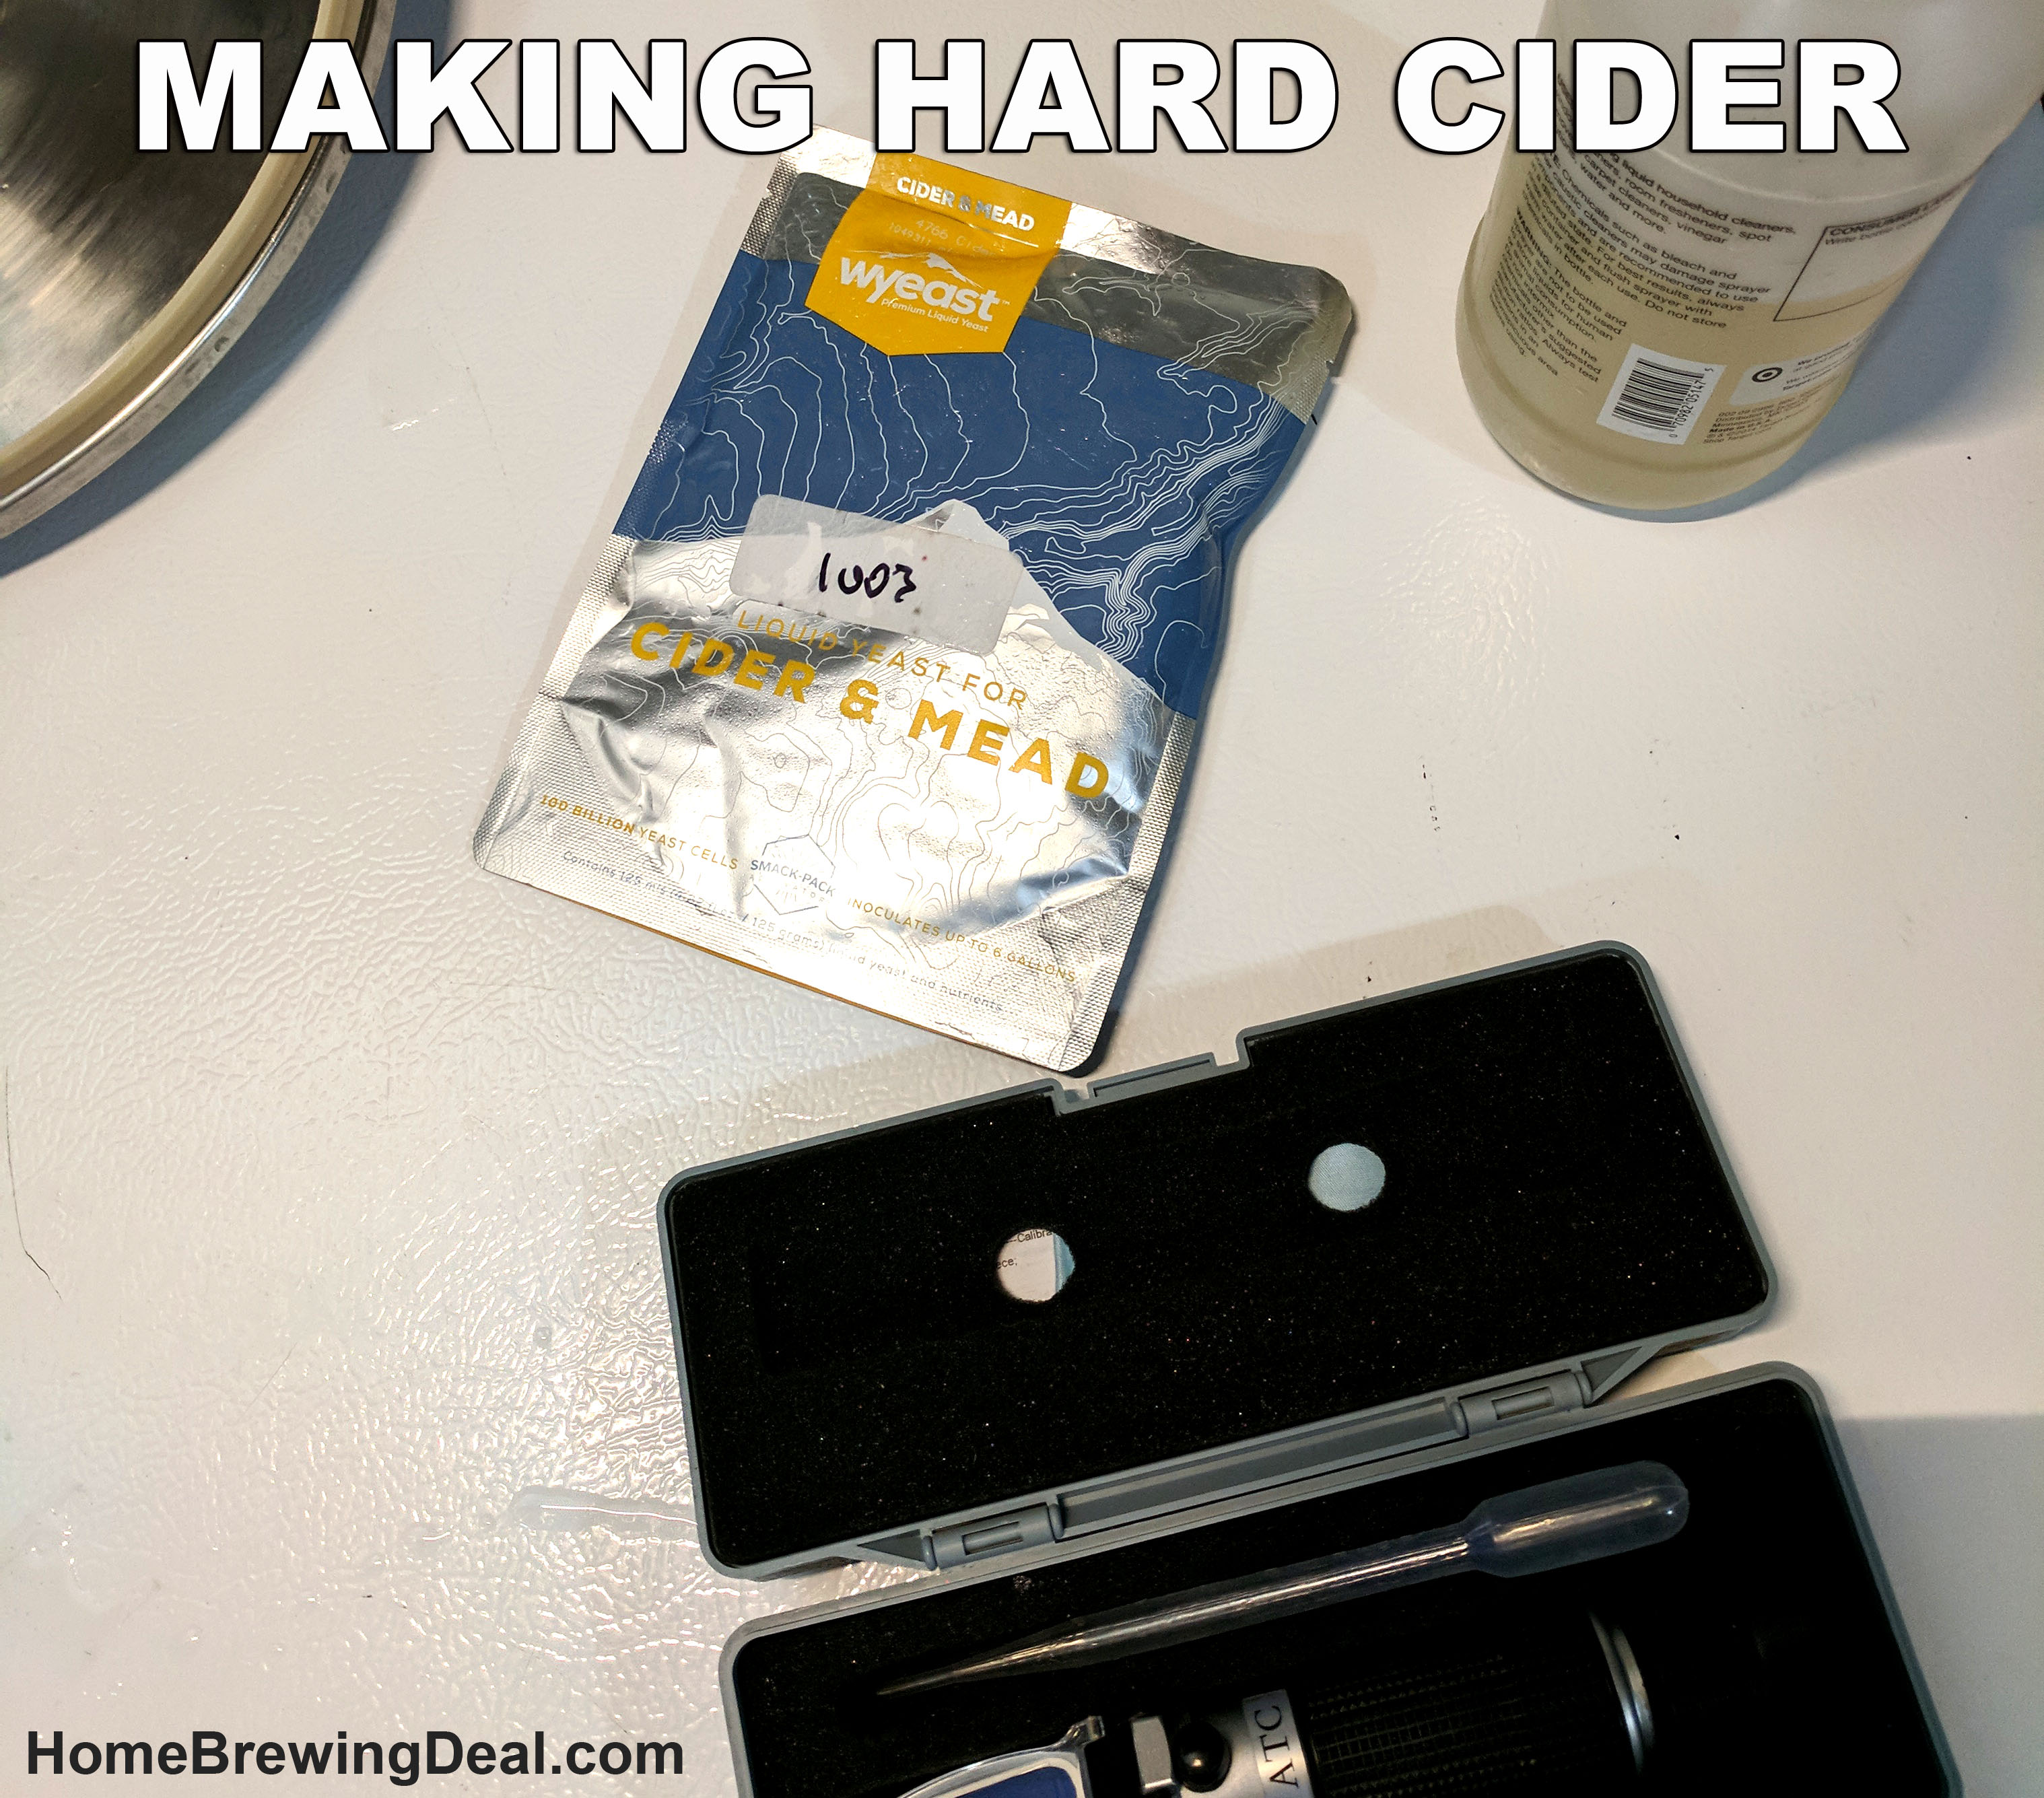
2) Wyeast Liquid Cider & Mead Yeast
(The kit actually comes with yeast, but I figured I would step things up a notch with some specialized liquid yeast)
3) Toasted American Oak Cudes
(Not required but should enhance the complexity of the cider)
4) 3 LBS of Corn Sugar / Dextrose
(The recipe called for 2 LBS but I like to live on the edge)

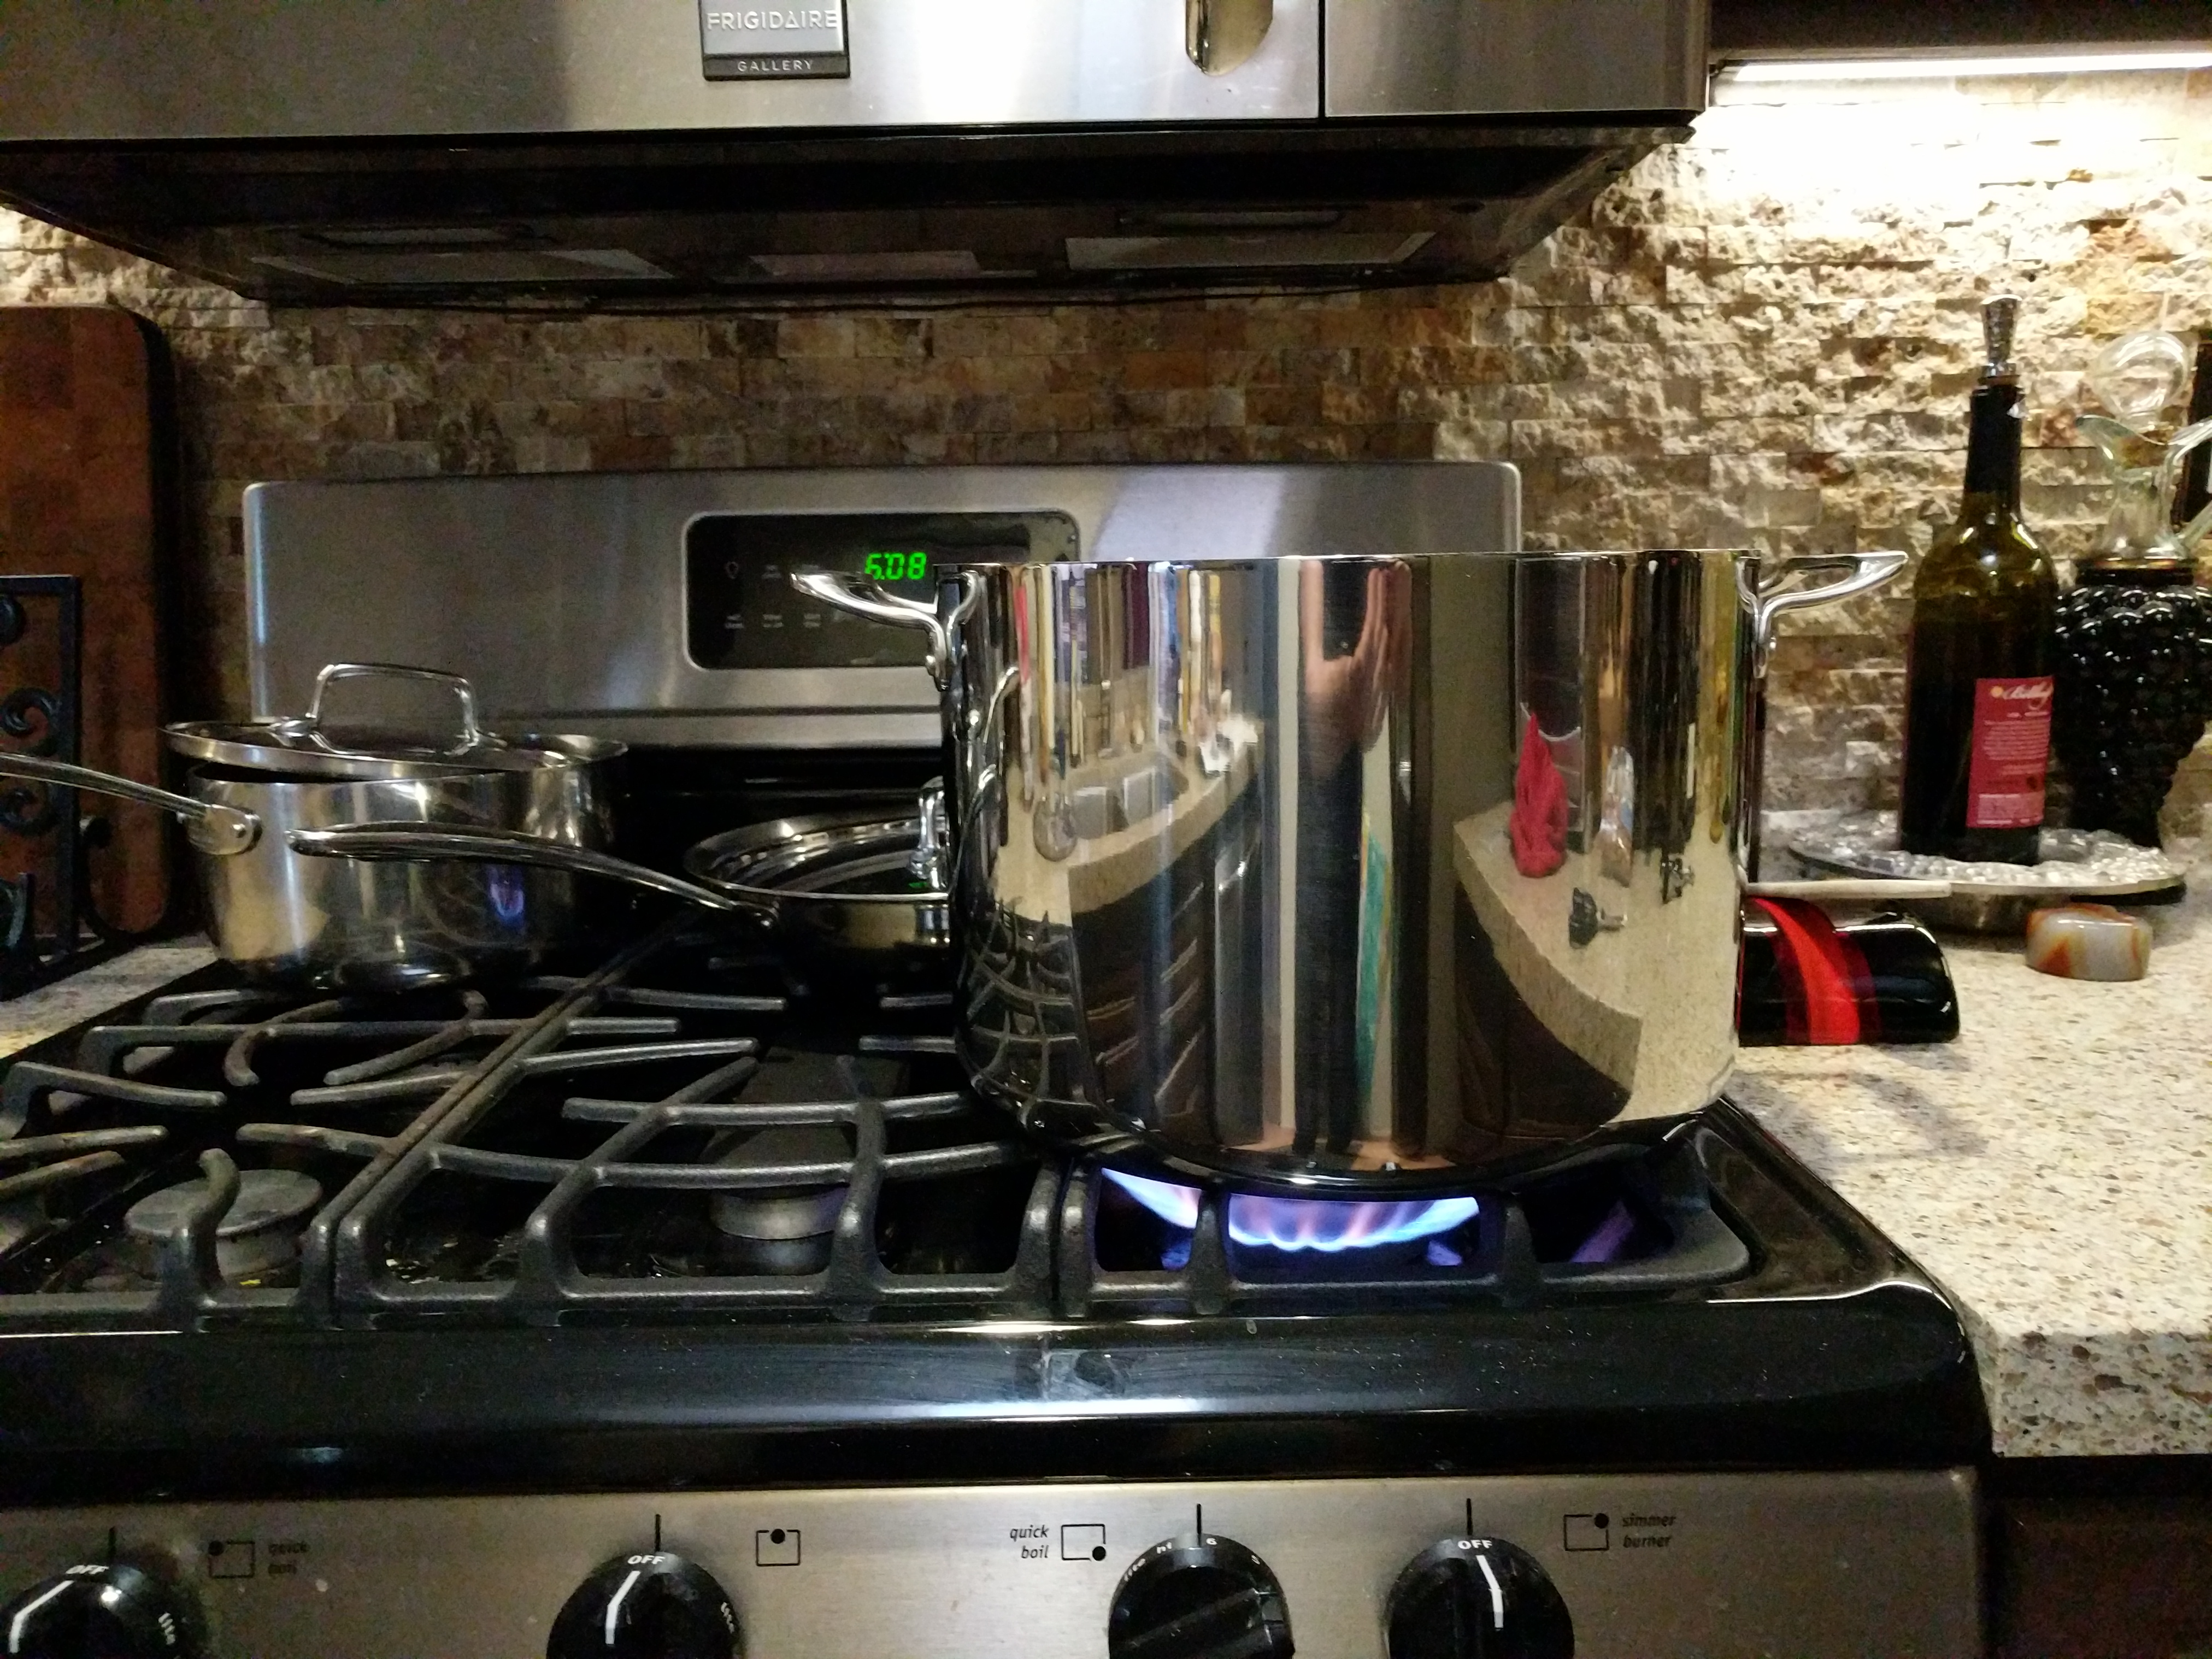
STEP 1 – Boiling Water & Sugar

After reading all of the directions that were included with my home cider making kit, I was pleased to learn how simple the process was. Step #1 was to boil 1 gallon of water with the dextrose that I purchased. The dextrose that I used was actually initially purchased for carbonating beer, but since I almost always keg now, I decided it to put it to good use for my batch of home made hard cider!

Corn Sugar - Dextrose for making cider at home

Corn Sugar – Dextrose for making cider at home

I used a large stainless steel kettle to heat 1 gallon of water.  Once the water was hot, I began to add the dextrose and slowly stir it.

How to make hard cider #cider

How to make hard cider #cider

Make sure that you use a large enough pot to boil the water and dextrose. If the boil becomes to rapid, you can have a boil over and those are no fun to clean up!  I let my water and sugar boil for approximately 10 minutes and then turned the burner off. At that point your should let your water and dextrose solution cool down.  You can either let it sit in an ice bath with a lid covering the kettle, use an immersion chiller or add some ice to the kettle; just be careful to keep everything sanitary.

Animated Cider Making Gif

Animated Cider Making Gif

STEP 2 – Clean and Sanitize

Just like home beer and wine making, cleanliness and sanitization are critical to making great cider! At this point you will want to make sure that you clean and then sanitize anything that will come in contact with your cider or water dextrose solution! Both the water and apple cider concentrate are loaded with sugars and any bacteria or wild yeast strains lurking about would just love to get hold of it! So make sure you sanitize your fermentor and any implements that will come in contact with your home made cider.  I recommend Star San, but you can use any odorless and tasteless food grade sanitizer.

The cider fermentor that I use is a 7 gallon stainless steel fermenter which I first cleaned with PBW and then sanitized with Star San. If you are looking for an incredible cider fermenter, I highly recommend this one and you can get it for a great price and with free shipping. You can also use plastic fermentation buckets, or glass carboys as cider fermentors. If using a glass carboy, just be very careful not to add boiling hot liquids as the fermentors can shatter making for an incredibly dangerous situation! There are also stainless steel 7 gallon brew bucket fermenters for just $229.

Stainless Steel Cider Fermenter #cider #fermenter #fermentor

Stainless Steel Cider Fermenter #cider #fermenter #fermentor

STEP 3 – Add The Ingredients To The Fermentor

The next step is to add your different home cider ingredients to the sanitized fermenter.  I first added in my boiled water and dextrose solution.  Be careful as this still may be very hot!  Next I added in the package of apple cider concentrate that came with my kit.  Make sure that you sanitize the outside of the package and even the scissors that you use to open the kit, just to be safe! After pouring in the mixture, rinse the pouch with filtered and dechlorinated water (I use a carbon filter and seen in the photo, which highly reduces chlorine levels); and add the water to the fermentor.  I then tossed in my oak cubes and filled the fermentor to the 5.5 Gallon level. The home made cider directions recommend filling it to the 6 gallon mark, but as I mentioned earlier, I like to live on the edge! You will want to make sure that your fermentor can support at least 7 gallons if not more!  Keep in mind, the more sugar you add and the less water you add, the stronger your cider will be!  So use caution!

Animated Gif On Making Hard Cider At Home #hard #cider #home #brewer #making #how #to

Animated Gif On Making Hard Cider At Home #hard #cider #home #brewer #making #how #to

STEP 4 – Check Your Temperature

Yeast is a delicate and will parish if the temperature of your cider is too high! The ideal fermentation temperature for cider is between 65F – 70F.  So, cool your cider down to no more than 70F before you add your yeast to the cider mixture. You also do not want your temperature too low or else the yeast will not activate, so try to get it above 65F.  I use a converted chest freezer with a digital temperature controller as a fermentation chamber so that I can keep a stable fermentation temperature.  If you do not have access to one, do your best to keep your cider fermentor in an area that has a stable temperature of approximately 67F.  Keep in mind that the fermentation process generates heat and your cider will be warmer than the ambient temperature of the room that the fermentor is residing in.

STEP 5 – Add Your Yeast To The Cider

Next add your yeast to the fermentor! The fermentation process for you cider will take about a week to complete, but may take more or less time depending on a variety of factors including temperature, quantity of yeast, health of yeast, quantity of available sugar and type of yeast.

Brewing Hard Cider #cider #brewing

You should begin to see fermentation activity within 24-48 hours of pitching your yeast.  If bubbles are not forming in your air lock, your yeast may not have been healthy enough for fermentation and you will need to add new healthy yeast as soon as possible.  It is always wise to keep some dry cider yeast on hand, just in case this occurs.  Dry cider yeast is far more durable than liquid cider yeast.

Fermenting My Hard Cider #cider #fermenting #fermenter #fermentation

Fermenting My Hard Cider #cider #fermenting #fermenter #fermentation

After the fermentation is complete almost all of the sugars will have been converted over to alcohol and the cider will be very dry.  So at that point I will add a sweetener to the cider that the yeast in unable to convert.  This will help to intensity the apple flavors in the cider.  At that point I will also keg and carbonate my cider and it will be ready to server approximately 7 days after that.  Once completed I will post the results!

You can purchase everything that you need to make cider at home at MoreBeer.com.  Here are links to some of the items I use! MoreBeer is great because you get free shipping on any order over $59, they have some of the lowest prices available on home cider making ingredients and cider making equipment and incredible customer service!

Cider Making Ingredient Kits
7 Gallon Stainless Steel Cider Fermentor
Cider Yeast
Cider Oak Cubes

If you have any questions or comments on home cider making, please let me know!

Brewery Bar Stool

Home Brewer Seating

Beer Brewery Keg Stool


For today is project I welded up a old decommissioned 5 gallon brewery keg and made myself a new home brewery stool with an adjustable height seat.

I had bought a cheap stool for the base materials and cut it up to be used for parts. The items did not fit together perfectly so there was a good deal of cutting, grinding, welding and finishing. All in the project took about 3 hours but I am happy with the results. Having the ability to adjust the height on the seat comes in pretty handy depending on what project I am working on.  The additional legs around the base of the keg adds some stability to the stool in case one of my friends has had a few too many!

The tools that I used to make my brewery stool were a mig welder, grinder, hack saw / cut saw, wire brush, hammer and a little sand paper for finishing. If you would like to make your own brewing throne, brewery stool, keg stool or keg seat and have any questions, please feel free to ask or leave a comment.  I am always happy to help out!

Brewery Keg Stool #homebrew #keg #stool #bar #brewing #beer #brewery #chair #idea

Brewery Keg Stool #homebrew #keg #stool #bar #brewing #beer #brewery #chair #idea

Save 20% On A More Beer Columbus IPA Extract Beer Kit

Save 20% On A More Beer Columbus IPA Extract Beer Kit #homebrew #beer #kit #extract #IPA #homebrewing #recipe

Save 20% On A More Beer Columbus IPA Extract Beer Kit #homebrew #beer #kit #extract #IPA #homebrewing #recipe

Limited time and quantity MoreBeer.com Coupon
MoreBeer.com Coupon Codes for the Month of September, 2017
Coupon Code Date: 9-30-2017
Promo Code Details:  Save 20% On A More Beer Columbus IPA Extract Beer Kit
Promo Code: BEERDEAL
Product User Rating: 5/5
Availability: In Stock
Coupon Code Description: Right now, while supplies last, you can save 20% On A MoreBeer.com Columbus IPA Extract Homebrewing Beer Kit with Morebeer.com promo code BEERDEAL.  There are only 12 kits available at this price, so act fast if you want one.  The homebrew beer kit is eligible for FREE SHIPPING on orders of $59+. This home brewing IPA beer kit will produce 5 gallons of a truly fantastic IPA! This homebrew extract recipe features the columbus hop and is packed with lots of aroma and hop flavor.  Here are some of the details on this home brewing IPA beer kit:

Estimated Original Gravity: 1.058-62
SRM (Color Range: 10
IBU’s: 62-66
Estimated ABV: 6%

IPA BEER KIT PROMO CODE

Home Brewing Coupon Code Found At:  HomebrewingCoupon.com

#coupon #code #homebrew #homebrewing #homebrewer #beer #brewing #home #brewing #brewer #deal #more #beer #morebeer.com #promo #IPA #beerkit #recipe #kit

Trub Trapper Review

Trub Trapper

The Trub Trapper hop filter

Over the past 4 months or so I have been trying hard to find a good solution for keeping the solids and hop matter created during the boil, out of my homebrewing fermenter.  I started out using a Blichmann hop blocker, which worked fine, but I was a little disappointed with the quantity of wort that I had to leave behind in the kettle.  I then switched over to a hop spider / stainless steel hop filter which worked terrible as I was plagued with clogging issues. I then used 2 stainless steel hop filters with worked better but I still had major concerns regarding diminished hop utilization. Now I have found myself going down a new path and trying the Trub Trapper.

The reason I purchased the Trub Trapper was because on paper it looks like the perfect solution for my needs and works well with my all grain configuration.  What I like about the design of the trub trapper is that it has no top or bottom, so the hops can circulate in the kettle and I do not have to worry about reduced bitterness and aroma from stagnated hop circulation. It has a low profile so even if it gets clogged, there wont be too much of a wort loss and most importantly the trub is supposed to be caught in the trub trapper during the whirlpool so I do not transfer it to my conical fermenter.

So how does the trub trapper work in reality?

Per the description of the trub trapper, it is intended for a 10 – 15 gallon home brewing kettle and they do offer a smaller version for 5 gallon kettles.  I use a 20 gallon Blichmann home brewing kettle, but for the most part only brew 5 and 10 gallon batches, so I figured, what the hell, I will give it a shot with my setup.  My initial concern once I received the trub trapper was that it might be too small for my brewing setup but I figured I would give it a test run anyhow.

For my test brew, I went with a 5 gallon batch of MoreBeer’s M-80 All Grain IPA home brewing recipe.  I figured the 6 oz’s of hops would be a good test of the Trub Trappers capabilities.  Prior to brew day I started off by giving the TrubTrapper a good cleaning, like I do with any newly purchased home brewing equipment. The design of the Trub Trapper is relatively basic.  It looks like an old school air filter but instead of a paper membrane in the center, it has a ring of drilled stainless steel surrounded by a layer stainless steel mesh. On the top and bottom of the Trub Trapper there  is a silicon seal. Prior to starting my boil, I placed the trub tapper in the center of my boil kettle as shown in the following photo.

TrubTrapper

TrubTrapper

Something important to keep in mind, the TrubTrapper is only going to be effective if you have the capability of conducting a whirlpool at the end of your boil.  Whirlpooling is a brewing process where after your boil has completed, you recirculate your wort inside your kettle with the use of a pump and whirlpool arm. As the wort swirls around your boil kettle, the trub trapper catches and contains it.  If you do not have a whirlpool arm in your kettle, you can easily add one yourself as I did.  A whirlpool arm will run you about $38 and you can find a great home brewing whirlpool arm here if needed. This animated homebrewing gif shows the whirlpooling process being conducted.

Home Brewing Whirlpool Animated Gif

Home Brewing Whirlpool Animated Gif

For the trub trapper to be most effective, you need to allow the wort to whirlpool for about 10-15 minutes.  Depending on your homebrew recipe, this could be a great time for a hop addition or to begin your wort chilling process which is what I did.   All in my whirlpool process lasted about 20 minutes before my wort had chilled down to 70 F and I began transferring it to my conical fermenter. So did the Trub Trapper work?

The TrubTrapper

The TrubTrapper

You bet your sparge arm it did! The TrubTrapper exceeded my expectations.  As you can see from the photo above, it did a fantastic job of capturing the trub and keeping it away from my kettle transfer tube.  Initially it clogged a little bit, but I learned that if i burped the far side of it, the seal permitted the caught wort to escape while the Trub Trapper still contained the thick trub sludge. For $35 I feel that it was a great buy, especially when considering that alternative solutions cost far more and are not nearly as effective.

If you are considering buying a TrubTrapper, you can get it for a great deal here!

Purchase the Trub Trapper Here

#trubtrapper #trub #trapper #homebrew #homebrewing #hop #filter #screen #spider

Cleaning the home Brewing system

Cleaning home brewing equipment is now my favorite aspect of home brewing, but I know that it is a critical part of creating good beer and keeping my home brewing rig functioning properly. My home brewery has grown to the point where it has gotten complicated to clean.  Home brewing equipment such as ball locks, hoses and pumps create pockets of space where bacteria can thrive. After a home brewing session, you have basically created the ideal environment for a bacterial incubator to form. It is a damp, dark environment that has a thin sugary syrup coating everything from the wort passing over it. If you do not clean properly, you are setting yourself up for possible beer contamination and off flavors.

I do not worry about my Hot Liquor Tank and the pump that drives it since it is only passing hot or cold water.  I just make sure that the pump, valves and hoses are kept free from moisture.  As far as my RIMS, Mash Tun, Boil Kettle, Valves, Hoses and Pump that feeds those system goes, I have a different process.  The primary aspect of that process is recirculating a warm / hot (120 F) bath of PBW over everything for 15 minutes. You can actually see the water change in color after it has recirculated for a few minutes. I then allow the equipment to soak over night, then heat the solution again and flush it with clean water.  I then break down my RIMS system and scrub out any lose debris, scrub my valves and reassemble.  Like I said, it is not fun, but cleaning is an important part of brewing.

If you are looking for a great home brewing cleaner, you should give PBW a shot. You can find it here:

PBW Home Brewing Cleaner

Now a cleaning cycle on the home brewing rig with some PBW #homebrew #homebrewing #homebrewer

Cleaning the keg and tap lines

Not fun but you got to do it, cleaning the tap lines. #homebrew #homebrewing. I broke down the beer tap and soaked it in PBW. Then I cleaned all the lines with line cleaner and reassemble. #home #brewing

Just about any good home brewer will tell you that one of the first rules of home brewing beer and making good home brewed beer is cleanliness. Unfortunately humans are not the only beer lovers on the planet.  Beer is loved by everything from insects to bacteria and your homebrewing and keg systems are highly susceptible to bacterial growth. Beer lines, keg fittings and taps are often times places where the like to hang out and they should be cleaned regularly.  Thankfully there are several products out there to help you keep your systems sanitary and your beer tasting good!

After building my Kegerator setup which you can view here, I knew that I would need to care for it and clean my taps so I purchased the line cleaning kit and some liquid beer line cleaner which is shown above.  The kit was great, it came with instructions and everything that I needed in order to do the job. The beer keg line cleaning kit came with a 1 quart hand pump that pushes Beer Line Cleaner through the draft beer system. The faucet gets removed and cleaned with the included faucet wrench and brush.  The process is relatively quick and easy and takes about 20 minutes to clean a couple beer taps out.

If you are interest in purchasing a draft beer line cleaning kit you can find it here:

Keg line cleaning kit

Keg Line Cleaning Solution

Here are the detailed instructions on how to clean your keg beer lines, beer taps and beer faucets:

1) Remove the tap from the keg. Use a beer faucet wrench to remove the faucet (the piece that the beer actually flows though to your glass) from the draft beer shank. The beer faucet collar should have a few holes in it, insert the wrench end into a hole and spin the collar clockwise to remove.

2) Next, disassemble the faucet to the point that the shaft inside can slide out. Place these parts in a bowl with 2 cups of warm water and ¼ teaspoon of Beer Line Cleaner. Put one cap full of beer line cleaner into the beer line pump jar and fill with warm water. Attach the lid pump unit back on the jar. Get a bucket to collect the fluid running from the tap. Insert the cleaning brush small end into the bottom of the tap to allow the flow to go through if needed.

3) Pump the cleaning solution though line and tap allowing the solution to sit in the lines for 10–15 minutes, then pump through. Follow this with 1–2 jars of water to rinse. Remove the brush from the tap.

4) Use the brush and a towel to clean the draft beer faucet and then rinse with clean water. Reassemble the faucet, hand tighten parts, leave loose enough so that they move freely. Attach the faucet back onto the shank again, using the wrench, do not over tighten, just tighten enough so that it does not leak any precious beer!

Yeast Starter

St Patrick please bless this beer! Making a Yeast Starter for my Hazy IPA tomorrow. I am using the wyeast London ale III 1318 yeast for this batch. I will let the starter go for about 24 hours and then pitch tomorrow.


Below is another animation of the stir plate about 10 hours after creating the yeast starter.  If you are seeing foam at the top of your starter at this point that is a great sign.  I usually turn off the plate for about 30 minutes just to check for signs of life.  If you are seeing bubbles and foam it means your yeast is alive, active and healthy.  If after 10 hours on a stir plate, at a reasonable temperature (62F-75F for an ale) and you are not seeing any bubbles, I would consider getting new yeast as it is either dead or not to the point it needs to be to ferment.  Keep in mind that yeast has a shelf life, and that it is a living organism that requires certain conditions to stay alive.  Living in Southern California, I am very cautious about ordering yeast online because there have been about 5 separate occasions where my yeast was destroyed in transit because of heat.  If you ever receive a bloated yeast packet, always do a starter just to insure that it is still viable before pitching.  If I am going to order yeast online, I try to make sure that the regional weather will be moderate. One other thing, while on the stir plate, I keep my flask wrapped in a towel during the daytime to help prevent in oxidization impact on the yeast from the sun light.


Homebrewing Yeast Starter and Magnetic Stir Plate

Homebrewing Yeast Starter and Magnetic Stir Plate


#homebrew #homebrewing #beer #yeast #starter #homebrewer